
Celtic Knot Thingy > Howto
CKT comes in two files:knot.tcl
and start.ps. Download them both
and put them in the same directory. From most browsers you this by
right-clicking the link and selecting "Save as...".To use Celtic Knot Thingy, you'll need to have Tcl/Tk, which is available free from http://tcl.tk/software/tcltk/. It's free and easy to install. I've tested CKT with version 8.3.1; anything version 8.0 or higher should work, but no guarantees.
You'll also need a Postscript previewer such as Ghostview, from http://www.cs.wisc.edu/~ghost/.
Be sure and get Ghostview (or GSview, depending on your
platform), as well as Ghostscript. (You used to be able to get both as a single package but now it seems that this is not the case.)
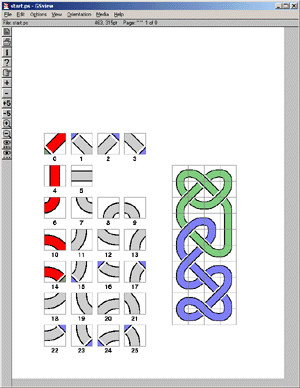
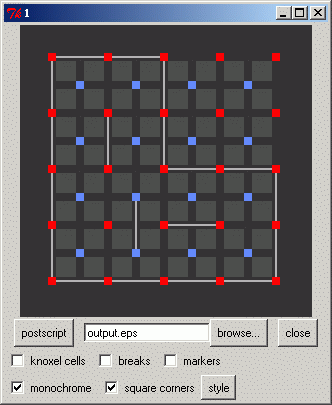
You can test your Ghostview
installation by running it and opening up the start.ps
file, you should get something like this (this screenshot is from the
Windows version, other platforms probably look a little different).
Once you've gotten Tcl/Tk installed correctly, you're ready to run
knot.tcl. Under Windows, you double-click it. Under
Unix, you type wish knot.tcl. You should get a window
that looks like this:
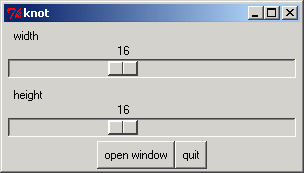
Actually, it won't look exactly like this -- see the note at the very bottom of this page.
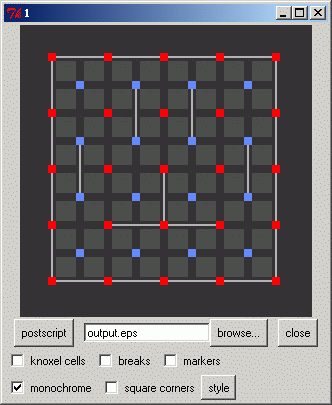
CKT lets you open as many editing panels as you want, but the width and height of each is fixed at the time you open it. For these examples, I'll set width and height both to 8 and click open window, which gives me this:
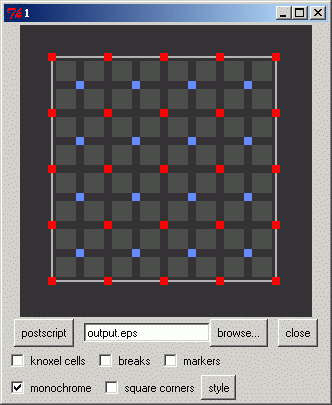
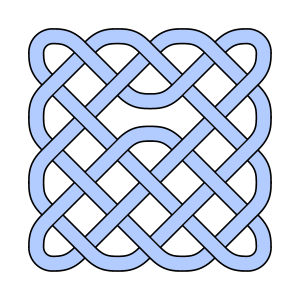
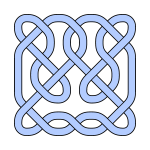
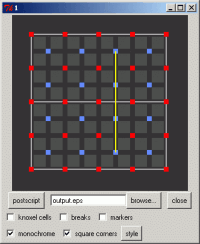
Notice that there's an 8 by 8 array of gray squares. Now we're ready
to generate our first knot. Click the postscript button. The
disk will run a little as it dumps the output knot to a file. (The
default file is output.eps in the directory where you run
the program; you can change this by clicking browse.) Now start
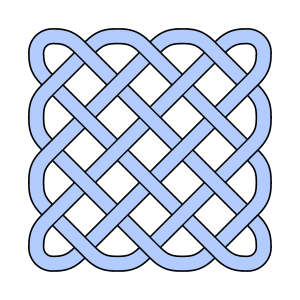
Ghostview and open the output.eps file. You should see
something like this:
Leave Ghostview running. Whenever we make a change, you'll press the postscript button again to regenerate the knot, then switch to Ghostview to see it. On most platforms Ghostview will redisplay the file automatically when you switch; if it doesn't, select File > Reopen to force it to reread the file from disk.
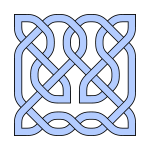
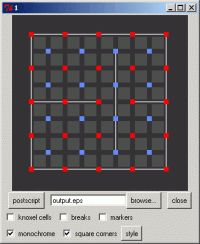
To make the knot more interesting, we'll draw in some breaks to change the shape. Click and drag on one of the colored squares in the editor window, you'll get a yellow rubberband line. Break lines are always horizontal or vertical; they connect pairs of red squares or pairs of blue squares. With our new break, the interface looks like this:

Click the postscript button to see the change to the knot:
The break forces the knot to turn back on itself, instead of letting the two strands cross over. We can make this a little more explicit by checking the breaks and markers options in the editor and regenerating the knot:
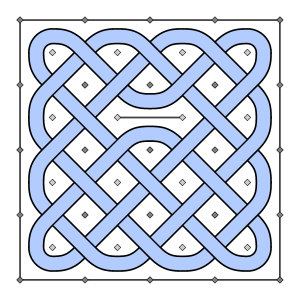
Now the red and blue squares in the editor are drawn in the output as gray diamonds, and you can see where the breaks lie in relation to the knot.
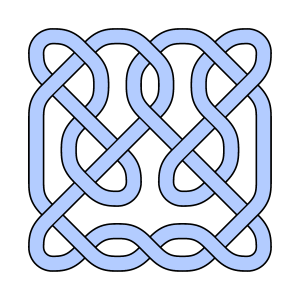
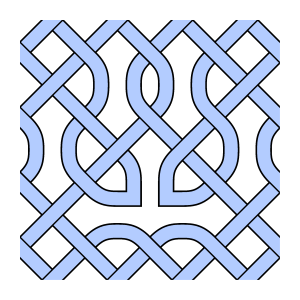
Deleting a break marker is done just like drawing it, except using the right mouse button (or control-button, for button-deficient mice). I'll make some changes, adding more break markers to create a more complex knot:
The style button brings up a menu letting you pick one of four different rendering styles. ribbon is the default, which we've been seeing all along. simple is thinner, removes the black lines, and represents interlacing with breaks in the strand. dual is a traditional Celtic style that looks like two parallel strands. abut is similar to simple, but with no breaks for interlacing.
 |
 |
 |
 |
| ribbon | simple | dual | abut |
Checking the square corners box gives you a variant where the rounded corners are replaced with right angles, giving a more, er, pointy flavor to the design:
 |
 |
 |
 |
| ribbon | simple | dual | abut |
Incidentally, there's nothing sacred about the breaks on the edge of the rectangle. They're provided by default as a convenience, but you can delete any or all of them. This gives the impression of seeing just a piece of a larger (or infinite) pattern:

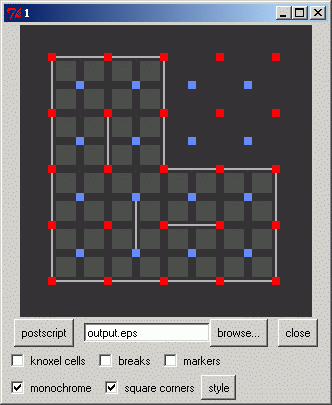
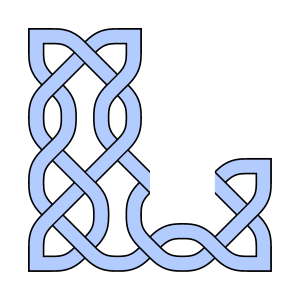
What if we want to create a design that's not rectangular? Suppose you set up breaks to mark off an L-shape:
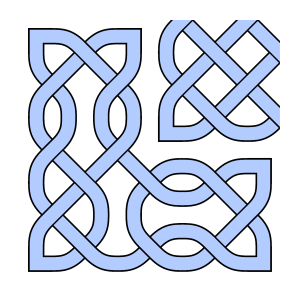
This works within the L, but there's some leftover stuff outside that we don't really want. We'd prefer it if just nothing was drawn there. This is what the large gray boxes are for. Click one of the gray boxes outside the design, and you get this:
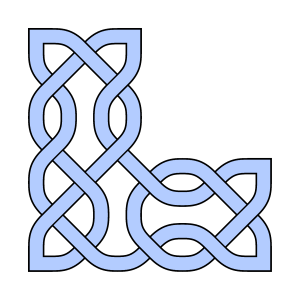
This is what we want. Clicking a box (or a space where a box would be) toggles it, doing a flood fill using the break markers as boundaries. This is usually what you want. Right-clicking (or control-clicking) the boxes toggles them individually, without doing the fill. This is mostly for debugging, as it looks a little strange:
Break lines may not cross except at colored squares. If you try to violate this rule, the program will remove existing breaks to fix things up:
 |
 |
 |
||
| initial state | drawing new line | resulting breaks |
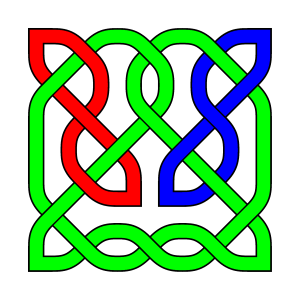
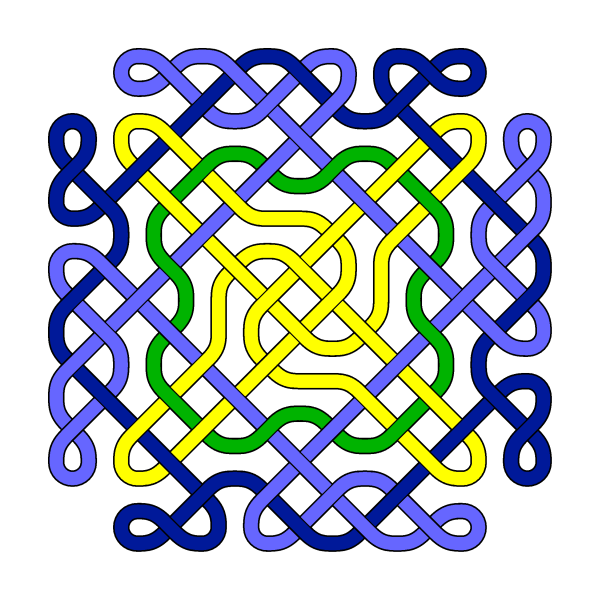
The last checkbox in the interface is the monochrome control. Checked by default, it makes all parts of the knot be drawn in the same color (a light blue). Unchecking it gives a different color to each individual strand of the pattern:
Note: If you download the program and run it, you'll notice three additional buttons that don't appear in the screenshots: save, which lets you save a knot (in an internal format, not as Postscript), load which lets you load a saved knot back in to edit it, and reset, which clears all the breaks out of an editor window (except for the boundary). These were added after I made the screenshots. Their operation is pretty straightforward and not discussed here.